
Your microphone picks up more than just your voice. Every desk bump, boom arm adjustment, or keyboard tap can creep into your recording. That’s where a shock mount comes in.
This simple yet powerful tool suspends your mic, isolating it from unwanted vibrations. When paired with a boom arm stand, it ensures rock-solid stability and pristine audio quality.
Without a shock mount, even the best microphone struggles with handling noise. Imagine recording a podcast or streaming live, only to hear constant thuds and rumbles. Frustrating, right?
A shock mount is not just an accessory—it’s a necessity for professional sound. Let’s break down why and how to use one with your boom arm stand.
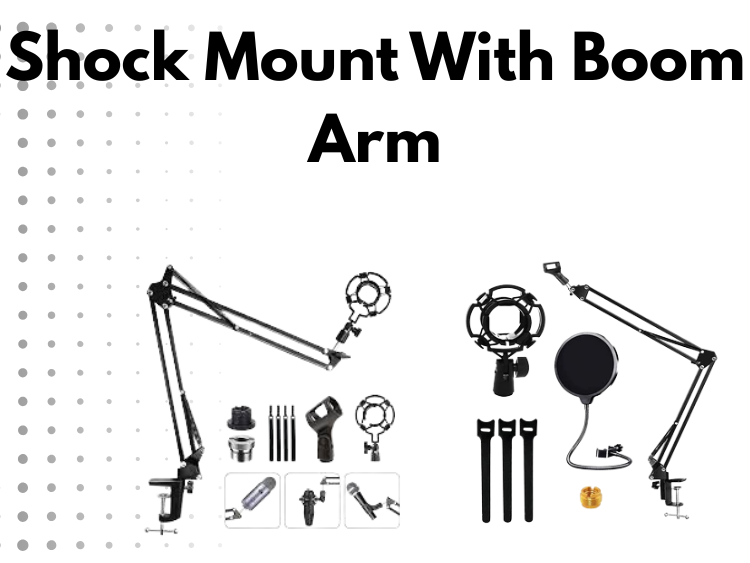
What Is a Shock Mount?
A shock mount is a specialized mic holder designed to absorb vibrations. It prevents unwanted noise caused by desk movements, mic handling, or boom arm adjustments.
Most shock mounts use elastic bands or rubberized suspensions to isolate the microphone. This floating design ensures minimal contact with external surfaces, reducing mechanical noise.
Whether you’re recording vocals, streaming, or podcasting, a shock mount helps maintain a clean, professional sound. It works especially well in environments where subtle vibrations can ruin an otherwise flawless take.
Using a mic without a shock mount is like recording on a shaky table—every movement affects your audio. That’s why it’s a staple in professional setups.
Benefits of Using a Shock Mount with a Boom Arm Stand
1. Eliminates Unwanted Vibrations: Small movements can create annoying thuds in recordings. A shock mount blocks these by isolating the mic from physical contact.

- Improves Audio Clarity: Handling noise and low-frequency rumbles often go unnoticed until playback. A shock mount filters out these disturbances, ensuring crystal-clear sound.
- Enhances Mic Longevity: Constant shocks and vibrations can wear down a mic’s internal components. A shock mount cushions these impacts, protecting your investment.
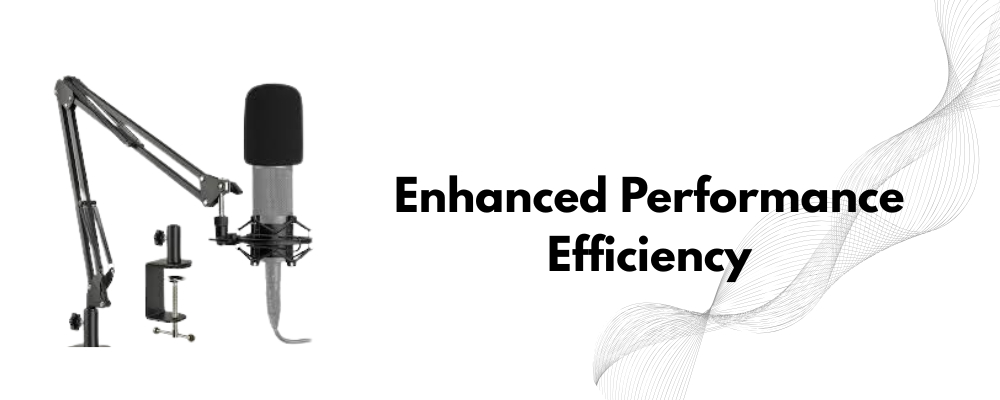
- Provides Better Recording Flexibility: With a boom arm stand and shock mount combo, your mic stays secure and stable at any angle. Adjustments won’t introduce unwanted noise.
Together, these two tools create the ultimate setup for high-quality sound. Next, let’s see how to attach a shock mount to your boom arm stand properly.
How to Attach a Shock Mount to a Boom Arm
Proper installation ensures stability and noise isolation. Follow these steps to secure your shock mount correctly:
- Check Compatibility: Ensure your shock mount fits both your microphone and boom arm. Some require adapters, so verify the thread size before installation.
- Secure the Shock Mount to the Boom Arm: Most shock mounts screw directly onto the boom arm’s threaded end. Twist it clockwise until tight, but avoid overtightening to prevent damage.
- Insert the Microphone: Carefully place your microphone inside the shock mount. If it has elastic bands, adjust them to hold the mic firmly without excessive tension.
- Adjust the Angle and Position: Tilt and rotate the mount to achieve the best mic placement. Tighten any clamps to lock it in place.
A properly installed shock mount keeps your mic steady while eliminating unwanted vibrations.
Choosing the Right Shock Mount for Your Boom Arm
Not all shock mounts are the same. Picking the right one ensures proper fit and performance. Here’s what to consider:
1. Size & Compatibility
Check if the shock mount fits your microphone’s diameter. Some are made for specific models, while others offer universal compatibility.
2. Mounting Type
- Threaded Shock Mounts – Screw directly onto boom arms.
- Clip-On Mounts – Attach easily but may lack stability.
- Universal Adapters – Useful if your boom arm has a non-standard thread.
3. Material Quality
Metal shock mounts offer durability, while plastic ones are lightweight but less sturdy. Elastic bands should be firm and not overly loose.
Choosing the right shock mount ensures long-term reliability and the best audio experience.
Common Mistakes to Avoid
Even with a high-quality shock mount and boom arm, improper setup can lead to poor performance. Avoid these common mistakes:

1. Using an Incompatible Shock Mount
Not all shock mounts fit every microphone. A loose or oversized mount won’t provide proper isolation, leading to unwanted vibrations. Always check compatibility before purchasing.
2. Overtightening the Mount
Screwing the shock mount too tightly onto the boom arm can cause stress fractures or make adjustments difficult. Secure it firmly, but don’t overdo it.
3. Ignoring Weight Balance
A heavy microphone with a lightweight boom arm can cause drooping. Counterbalance the weight by adjusting the arm’s tension or using a sturdier boom stand.
4. Placing the Microphone Incorrectly
Positioning the mic too close to the mount’s edges can affect stability. Ensure the mic sits centrally for optimal shock absorption.
5. Neglecting Maintenance
Elastic bands can wear out over time, reducing the shock mount’s effectiveness. Check them periodically and replace them when needed.
A proper setup prevents unnecessary noise and extends the life of your equipment.
If you are looking for a boom arm mic stand, vevor boom arm mic stand and 5 core boom arm mic stand can serve your purpose at an affordable price.
Interestingly, 5 Core even provides great discounts to business owners if you’re buying in bulk. Refer to this site for more information. Here’s also a one-stop platform where you can find all their products.
Conclusion
A shock mount is more than just an add-on—it’s a critical tool for clean, professional sound. When paired with a boom arm stand, it isolates your mic from vibrations, enhances clarity, and protects your investment.
Setting up the right shock mount ensures stability and longevity. Avoid common mistakes, choose the right fit, and maintain it properly for the best results.
Whether you’re recording a podcast, streaming, or working in a studio, this setup elevates your sound quality. Get the most out of your microphone with the right tools and a proper setup.
If you liked our article, check more here: